

.jpg)


.png)

.png)
.png)
Everything you need to know about inverting your wallpaper panels
- WallDreamer
- FAQ
- 1571 views
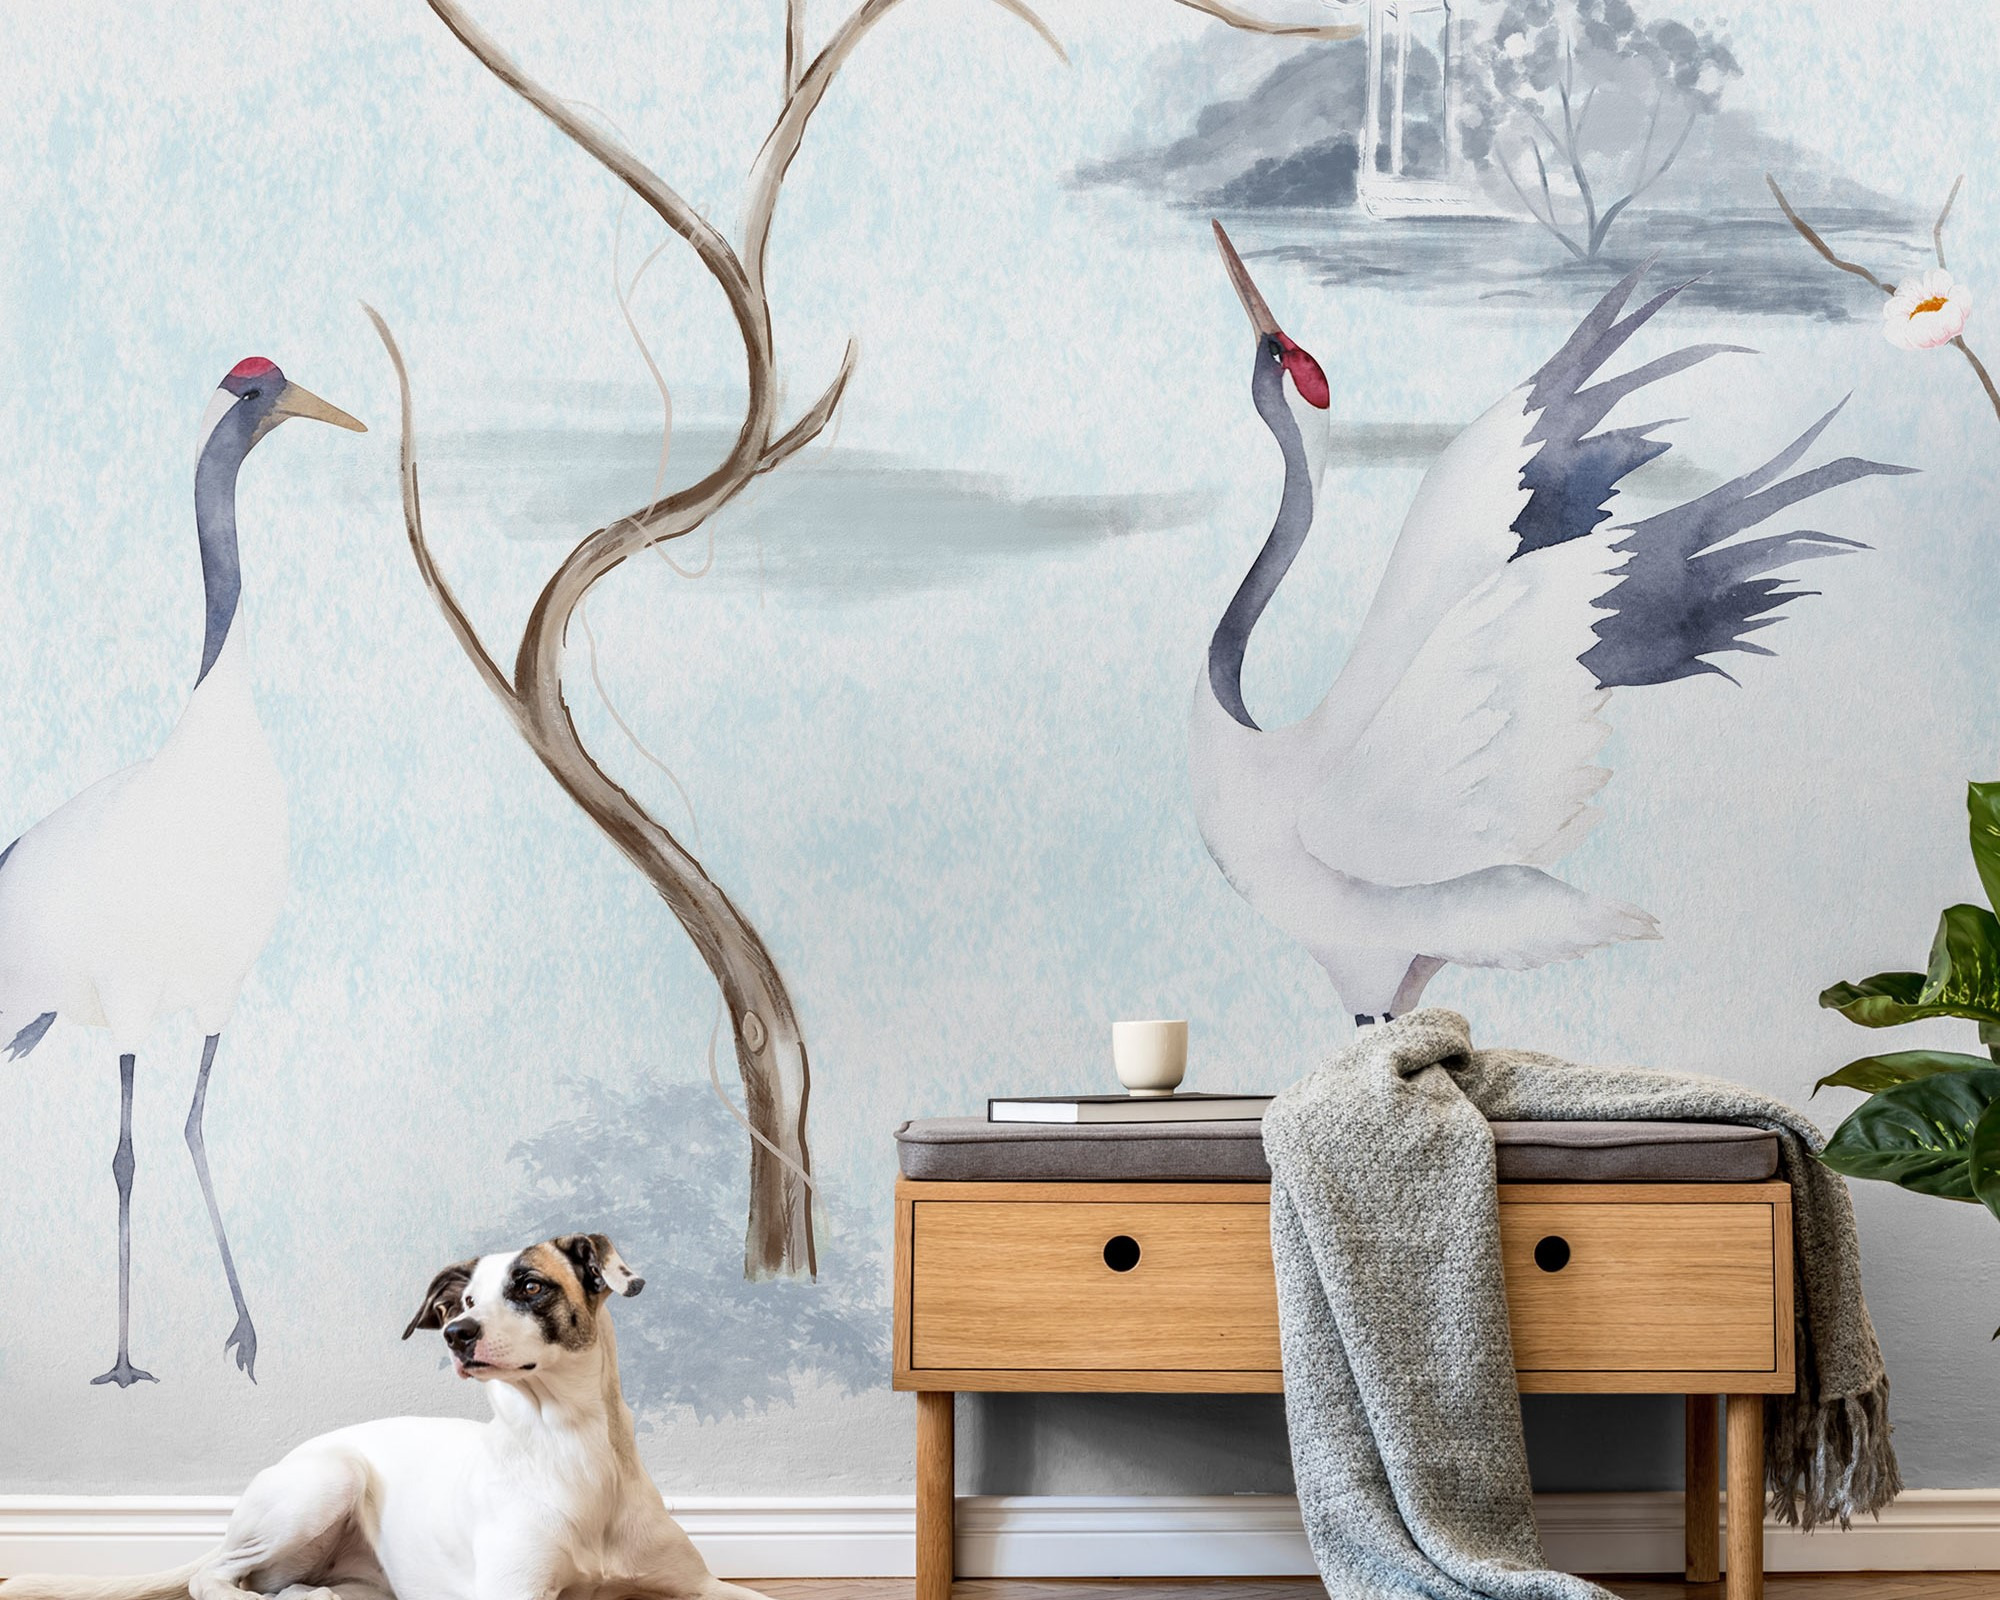

Type de raccord : L'inversion des lés de votre papier peint
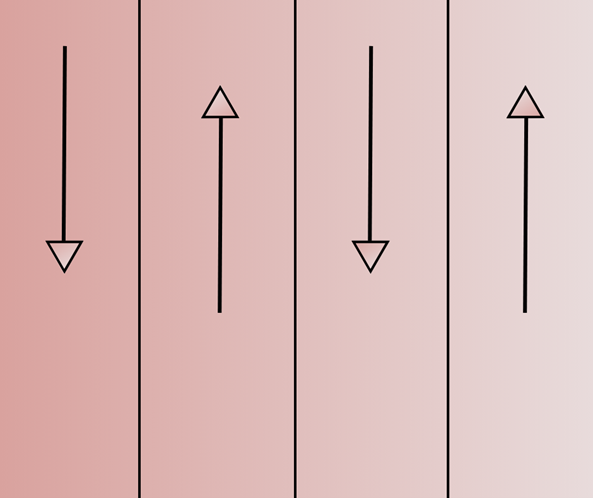
The label on your new wallpaper contains information and various symbols describing its characteristics. Among these symbols, you'll find one representing two arrows aligned, one pointing upwards and the other downwards. This icon indicates the inverted stripe laying technique. In this article, we'll explain why it can be advantageous to opt for this method of laying wallpaper strips and guide you step by step to ensure success.
What does reverse stripes mean?
To begin with, when you receive your wallpaper, you will find information referring to its characteristics. These include the symbol with two arrows side by side.

This symbol means: laying in inverted strips.
Reasons for laying inverted strips
Reverse wallpapering is a technique commonly used to hang wallpapers with repeating patterns, textured wallpapers, wallpapers with stripes or checks, or any other wallpaper where the pattern is repeated along the entire length of the strip. The main reasons for using inverted strips are as follows:
Avoiding the gaps
Repeating patterns can sometimes cause gaps between strips of wallpaper when they are laid normally. By inverting the strips, the patterns are continuous and the offsets are minimised, creating a homogenous, harmonious visual effect.
Blurring the connecting seams
Laying wallpaper in inverted strips also helps to blur the seam lines that form between each strip of wallpaper, as the pattern is reversed with each strip. This makes the joints less visible, creating a smoother, more uniform effect.
Add texture to your work
Pour les papiers peints texturés, la pose en lés inversés permet de jouer avec la texture et la profondeur du motif. En inversant les lés, le relief du motif peut être accentué ou atténué en fonction de l'effet désiré.
Ajouter de la créativité
Enfin, la pose en lés inversés peut être une technique créative pour ajouter de l'intérêt visuel à un mur. En inversant les lés, des effets de symétrie, d'asymétrie, de contraste ou de complémentarité peuvent être obtenus, permettant de personnaliser la décoration de la pièce
Les étapes de base pour la pose de papier peint avec des lés inversés :
La pose en lés inversés est une technique couramment utilisée pour poser des papiers peints à motifs répétitifs, des papiers peints texturés, des papiers peints avec des rayures ou des carreaux, ou tout autre papier peint présentant une répétition du motif sur toute la longueur du lé. Les raisons principales de la pose en lés inversés sont les suivantes :
Preparing the wall
Make sure the wall is clean, dry and smooth. If necessary, sand any rough surfaces and fill any holes or cracks with filler. Allow to dry completely before starting to install.
Measure the height of the wall and cut the strips
Measure the height of the wall where you want to start laying. Add 10 cm to this measurement to allow for cutting. Cut the first strip at this height, making sure that the pattern is aligned correctly.
Laying the first panel
Take your installation kit and paste the wall with wallpaper paste using a roller or brush. Start hanging the first strip, aligning the edge with the ceiling and leaving 5 to 10 cm of excess wallpaper at the bottom. Smooth the wallpaper with a wallpaper brush to remove air bubbles and creases.
Laying the second strip
Cut the second strip to the same height as the first. Turn it over and apply adhesive to the unprinted side. Position it at the top of the wall, with the printed side against the wall and the excess wallpaper protruding over the first strip. Make sure the patterns meet perfectly.
Laying the following strips
Repeat the above steps for the following strips, alternating the order of the strips each time they are laid (normal, reversed, normal, reversed, etc.). Make sure that the patterns are perfectly aligned and that there are no gaps.
Wrapping everything up
Once all the strips have been laid, smooth the wallpaper with a wallpaper brush to remove any air bubbles and creases. Use a cutter blade to trim off any excess wallpaper at the top and bottom of the wall. Leave to dry completely before painting or decorating the room.
Of course, you'll also need to follow the same procedure for ceilings. Instead of measuring the height of the wall, you'll need to measure the width of the ceiling, either vertically or horizontally, depending on the orientation of the design and your preferred method of wallpapering, before cutting the strips.